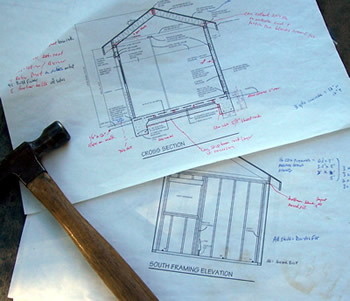
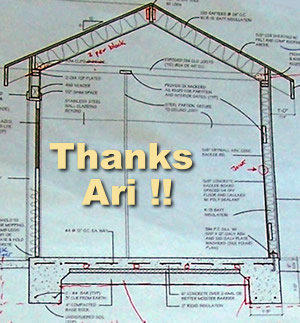
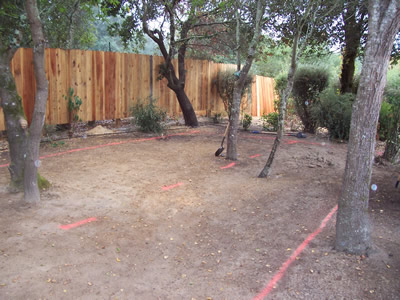
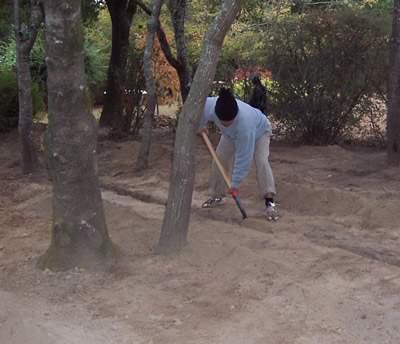
L to R: It all starts with the plans. We could not have done anything without the beautiful plans created by a good friend.
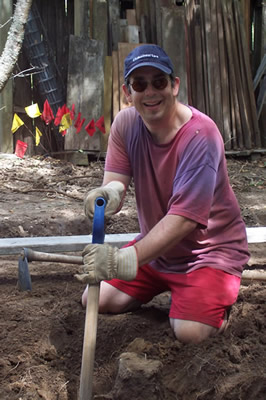
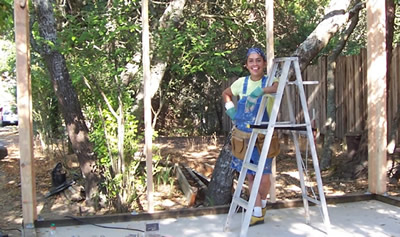
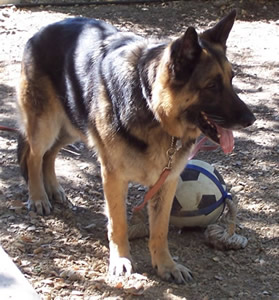
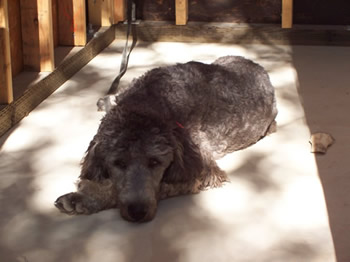
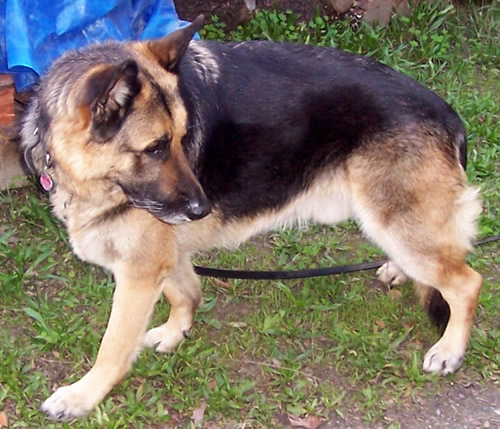
L to R: Gideon watches
over the proceedings; JB
excited about digging out
removed tree roots before
reality sets in.
over the proceedings; JB
excited about digging out
removed tree roots before
reality sets in.
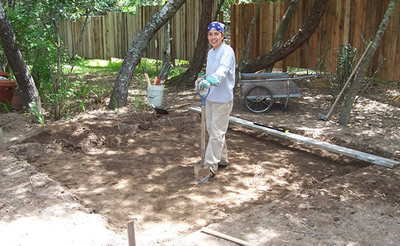
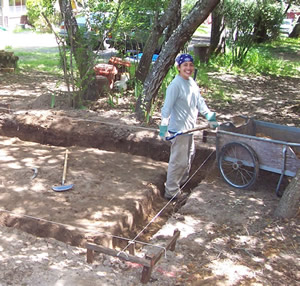
L to R: Olga works her butt off digging most of the initial foundation perimeter.
|
|
|
 |
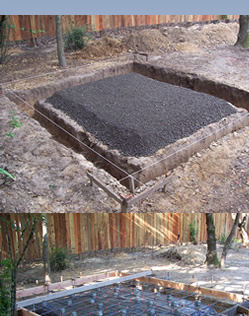

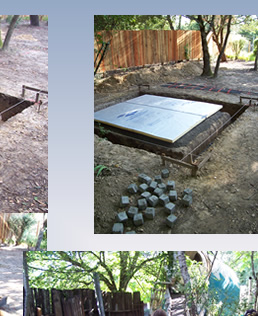
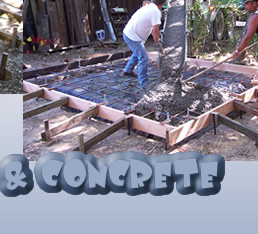
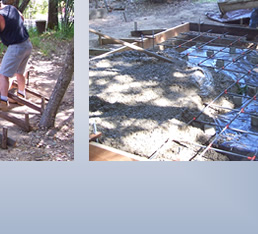
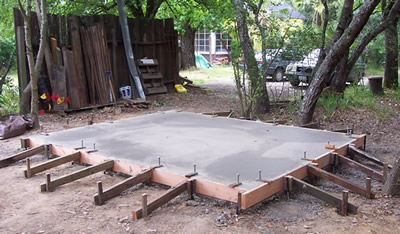
L to R: After adding gravel and insulation material, the form gets built and rebar is placed over insulation. Our friend Andy, owner of Villigante Concrete, helps us get the concrete right.
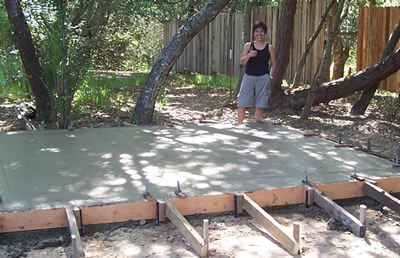
L to R: That's right, no turning back now. Olga looking pleased at the prospect of the freaking foundation actually being finished.
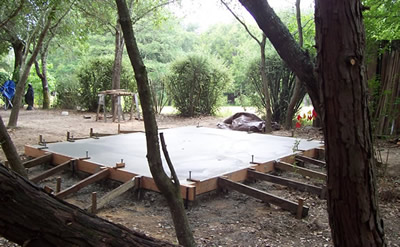
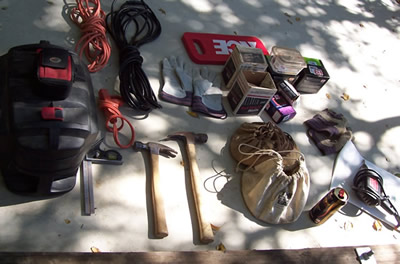
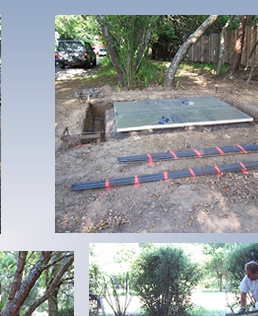
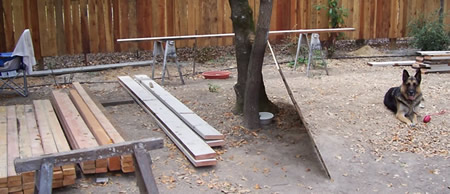
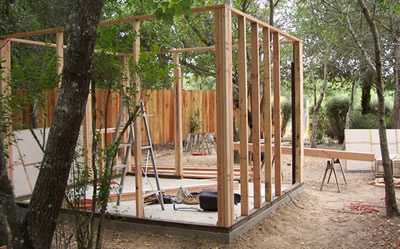
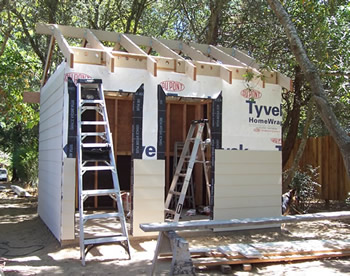
L to R: A nice view of the slab; The tools on hand for the beginning of "Let's frame this sucker!"
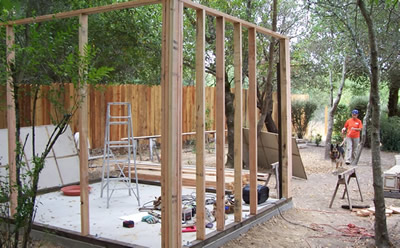
L to R: Olga working with dogs and JB while helping to rough out the basic framing.
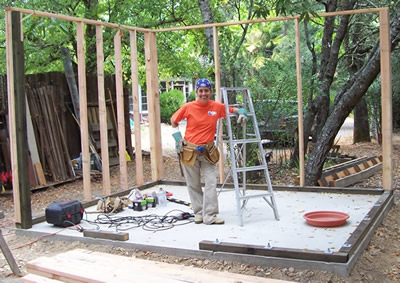
L to R: Gideon oblivious to the stress and strain of his owners while he patiently waits for them to finish HIS bungalow; Olga quite convinced this sucker will be built!
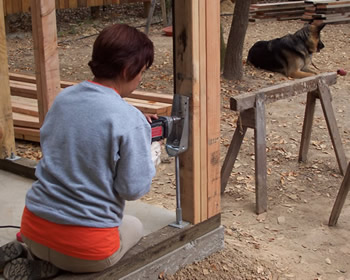
L to R: The front wall takes form; Olga and Gideon install the hold down brackets.

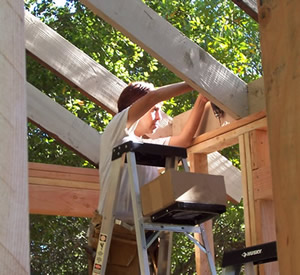
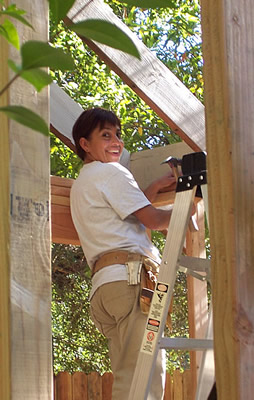
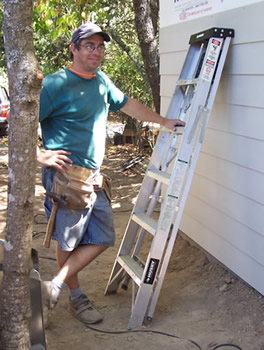
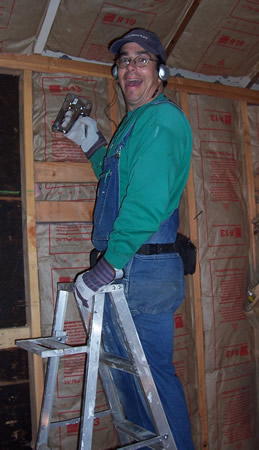
L to R: JB with the new 8' ladder hanging his first ridge beam from reused lumber;
Olga muscling the Simpson braces into place.
Olga muscling the Simpson braces into place.
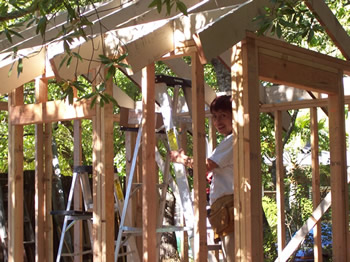
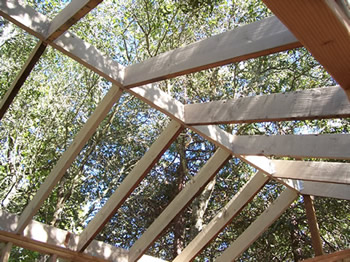
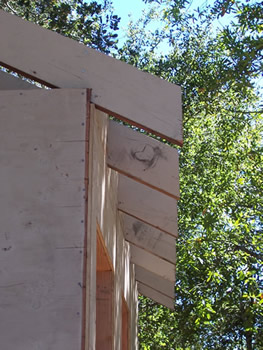
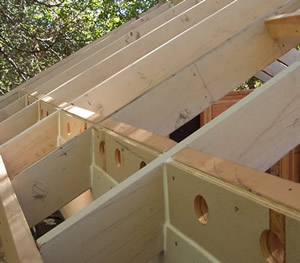
L to R: A lot of 2x4s obscure a true beauty; The roof rafters firmly in place with leverage and luck.
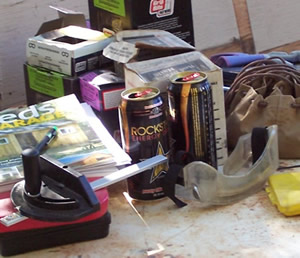
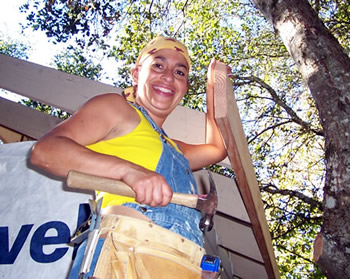
L to R: Where does she get all her energy?
Olga masters the swing of a hammer while
jacked up on Rockstar Energy Drink.
Olga masters the swing of a hammer while
jacked up on Rockstar Energy Drink.
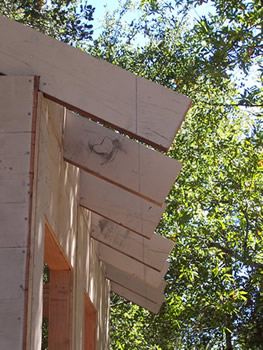
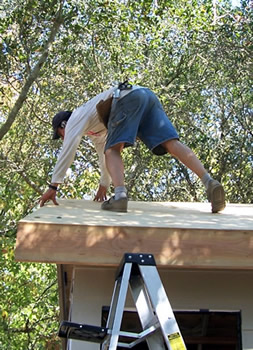
L to R: Occasionally JB get's it right. Rafter ends prepared for structural facia.


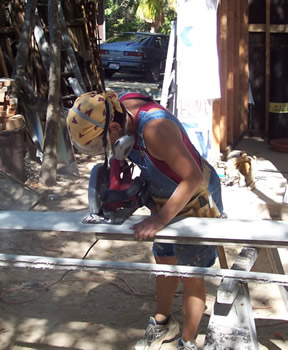
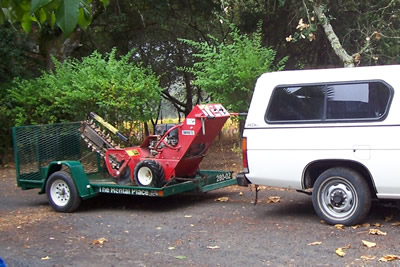
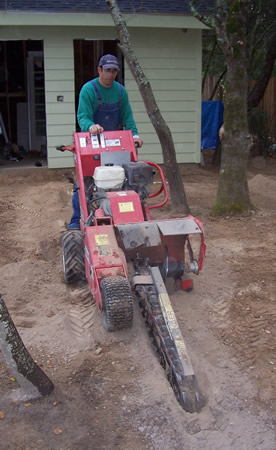
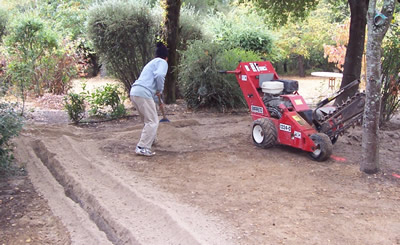
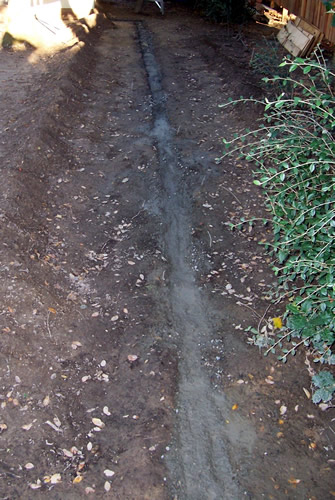
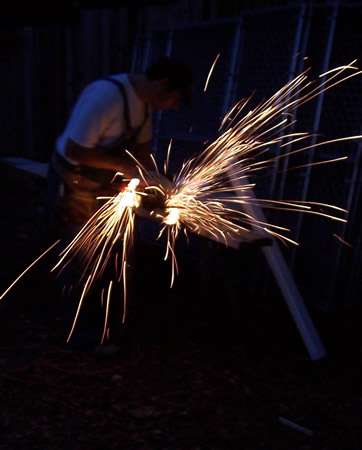
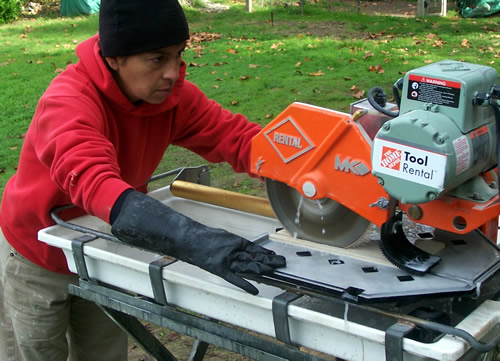
L to R: Working for the first time with a walk-behind rented trencher, JB sweats it out to a favorite mix CD while laying out the electrical and water lines to power and supply water for the bungalow.
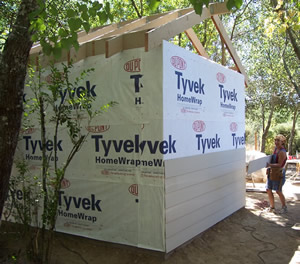
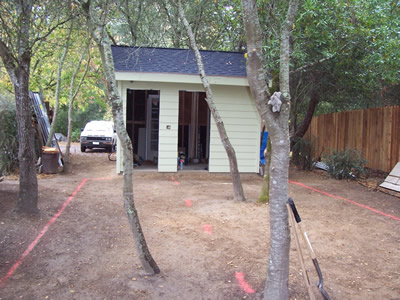
L to R: Siding, siding and did we mention, siding?
L to R: Olga cuts the Hardy Plank siding boards while Gideon wonders how long until dinner is served.
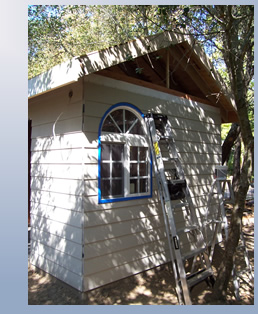
L to R: Olga working hard on installing the siding which for her makes it finally look like a real building!
L to R: Almost finished with the siding while visiting trainee "Remy" looks fascinated with the process.
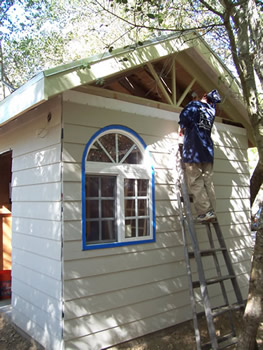
L to R: Time to get that damn structural facia up and caulk all the eaves for weatherproofing. Nice job Olga!
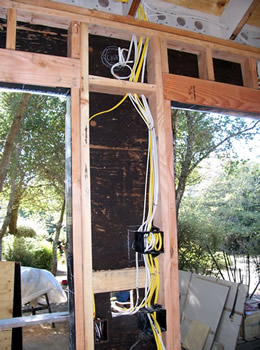
L to R: Again with the headphones and some kind of crazy rock music playing, JB installs the roof sheathing and oversees the installation of the electrical runs by Manny Electric.
|
|
|
 |
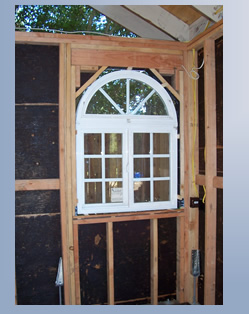
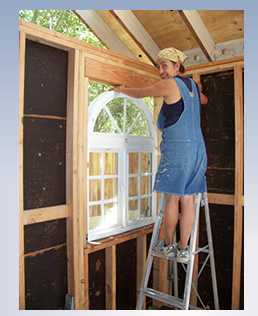
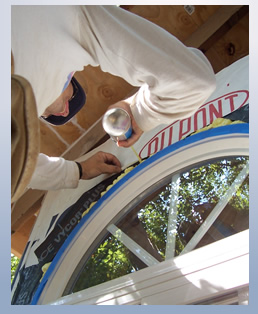
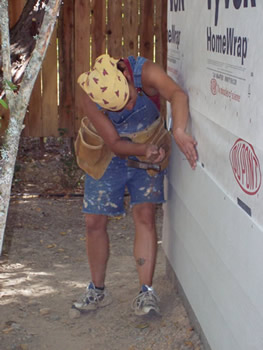
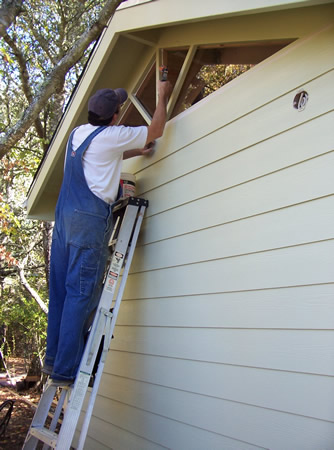
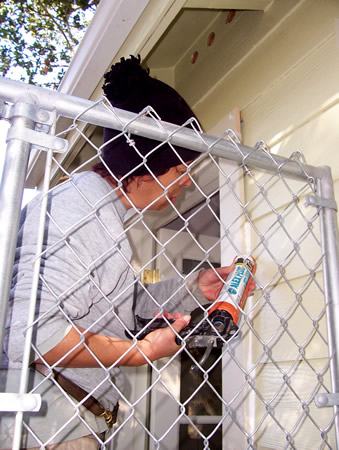
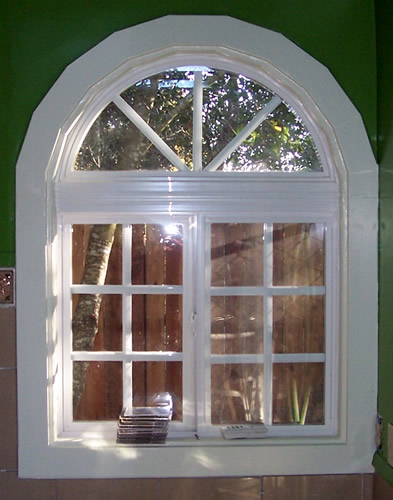
L to R: Well, that's certainly one way to install a recycled arched window!
JB creates an inventive way to set and seal up the side window.
JB creates an inventive way to set and seal up the side window.
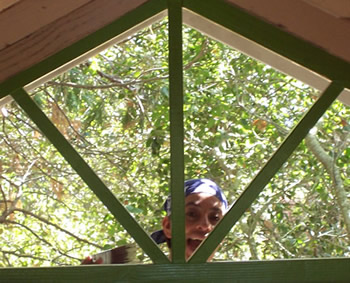
L to R: Olga patiently paints the final color on the upper side peaks for installation of plexiglass to be
sandwiched between the 2x2 framing.
sandwiched between the 2x2 framing.
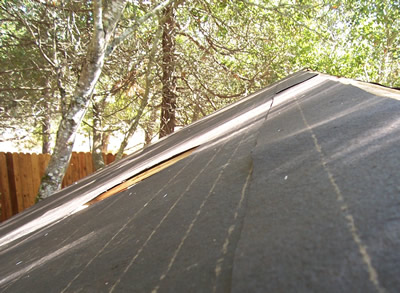
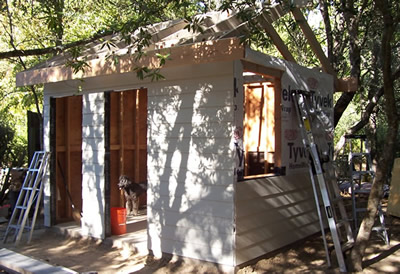
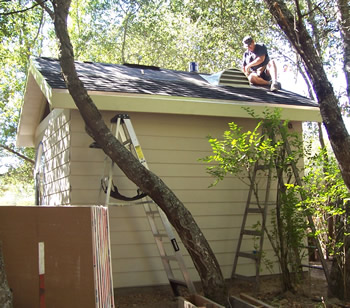
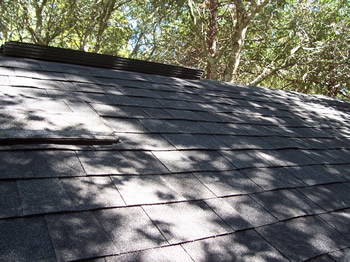
L to R: Gideon hangs out wondering why his bungalow is still not finished; The roof felt goes down in prep for the asphalt shingles.
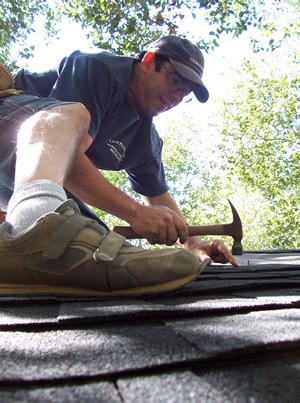
L to R: Joseph hard at work laying out his first asphalt shingle job.
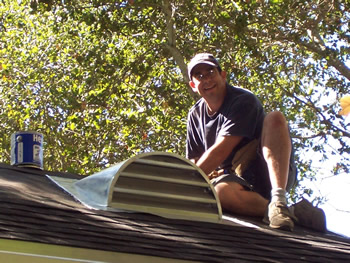
L to R: Joseph on deck working around the attic vent and hoping his grip holds.
L to R: Joseph smiles as he figures out the patterning to keep the rain water outside of the building;
The finished shingles in the mottled light.
The finished shingles in the mottled light.
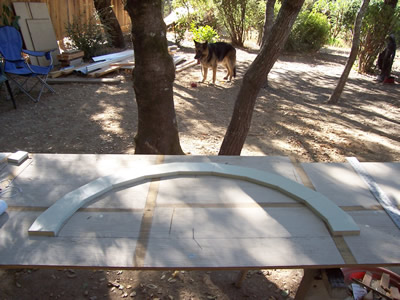
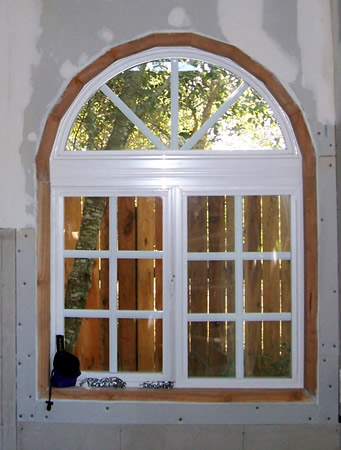
L to R: With the help of my brother Daniel and his awesome mathematics skills, we figure out the angles and measurements necessary to create a straight-sided 10 piece half-circle arch window frame. Thanks Daniel!
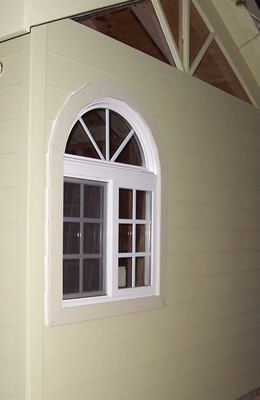
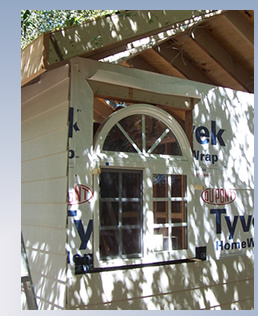
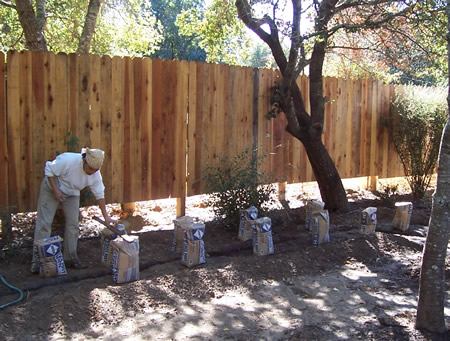
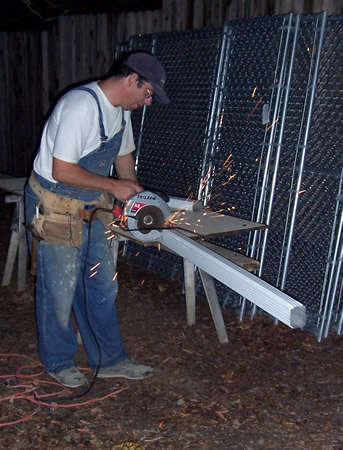
L to R: The wonderful window framed up and caulked; Again with a walk-behind trencher and the reality of creating an in-ground "mole strip" concrete perimeter trench for the new chain-link fence panel installation in the play yard section of the Dog Grotto.
L to R: The layout for the mole strip trench which will prohibit the nice boarding-training doggies
from digging their way out of the chain-link runs.
from digging their way out of the chain-link runs.
L to R: Two of the hardest working people in the Dog Grotto - Bungalow building business; the fun never ceases!
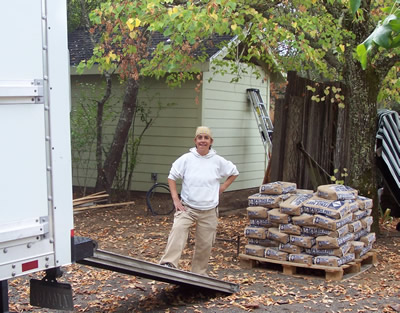
L to R: No, seriously, Olga's going to fill the whole 12" deep perimeter trench with the concrete we just unloaded
from the rental truck which also carried to the construction site....
from the rental truck which also carried to the construction site....
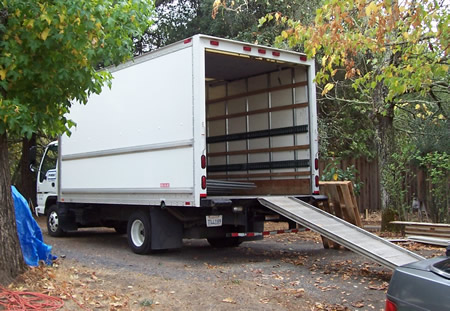
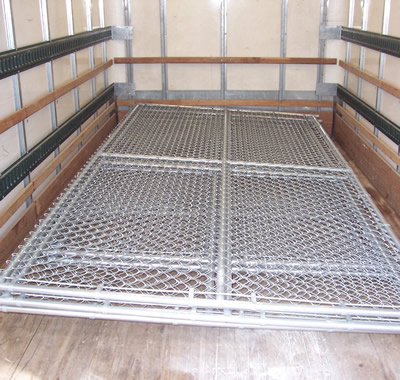
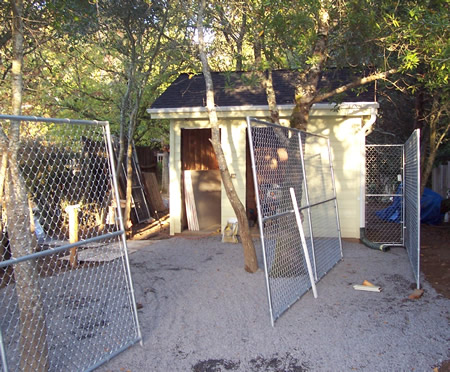
L to R: ....the beautiful chain-link fence panels!! Can't wait to set these babies up!
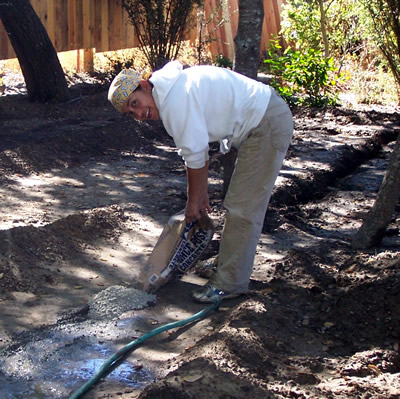
L to R: Olga fulfills her promise to finish filling in the mole strip with concrete.
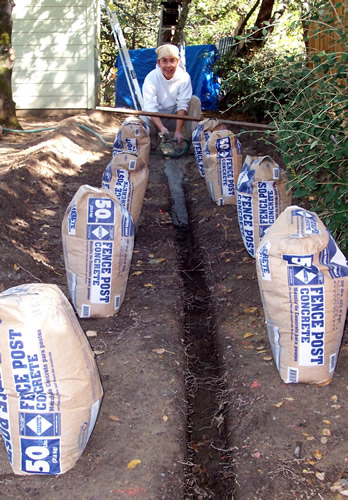
L to R: Before and after; a total of about 100 fifty pound bags of concrete!
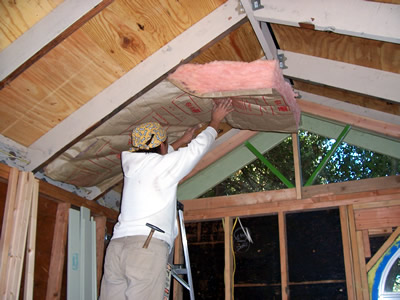
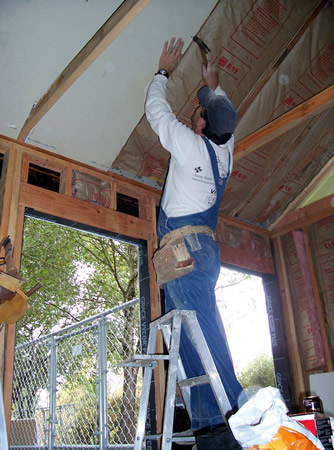
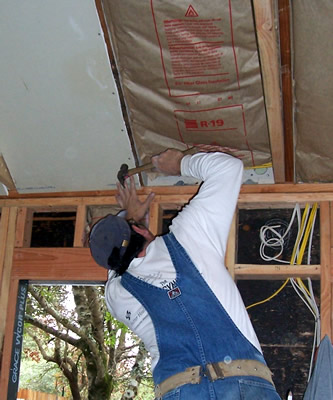
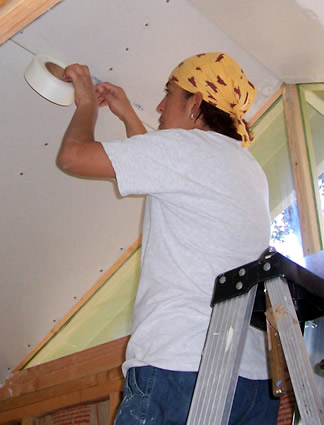
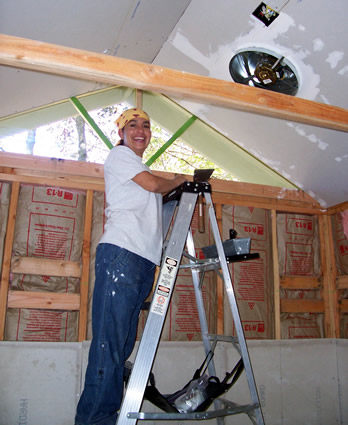
L to R: Joseph finishes some detail window caulking before the impending rains; Olga begins installation of the ceiling insulation.
L to R: Joseph works late on Sunday and asks Olga to take pictures with and without the flash on: fun with gutter installation!
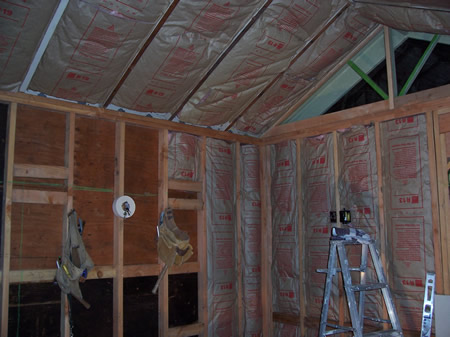
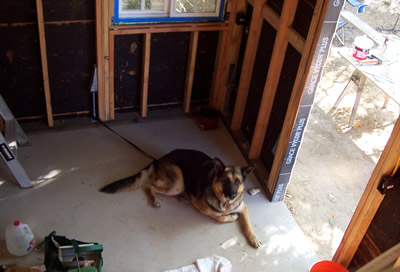
L to R: The night work on the inside of the Bungalow begins; Insulation in the walls is installed.
L to R: The ceiling insulation finished; Joseph looking very happy to be working at night.


L to R: Upon return from some errands, Joseph brings back sushi for lunch to Olga who is exhausted from spreading gravel all morning.
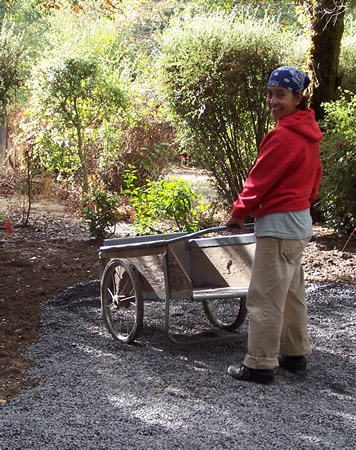
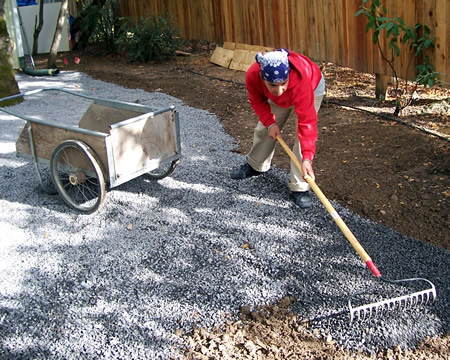
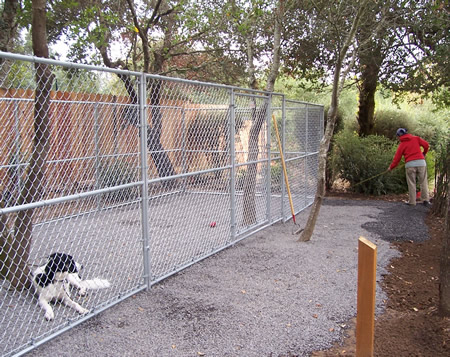
L to R: The hardest working dog whisperer in Sonoma County spreading the initial layer of gravel before the fence panels go up.
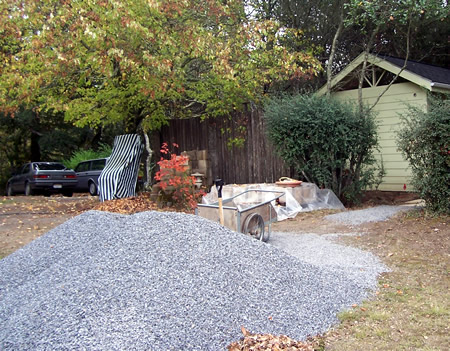
L to R: That's 10 tons of gravel folks, lovingly spread by Miss Olga; The fence panels begin to take shape!
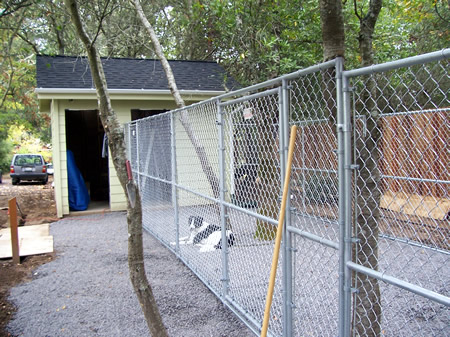
L to R: Finally!! The first outside run, panels supplied by Coggins Fence Company per detailed specs by Olga,
and assembled by the industrious Olga and Joseph outside the Bungalow building.
and assembled by the industrious Olga and Joseph outside the Bungalow building.
Nice layout job Olga! Let's hear it for one determined Master of Woof!
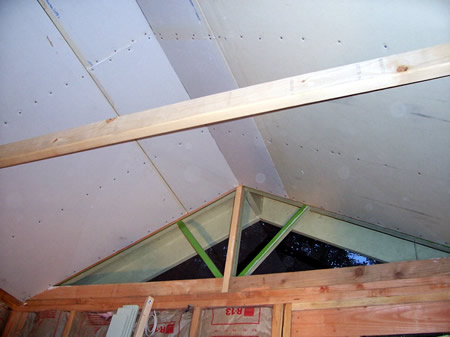
L to R: With help from Olga, Joseph begins installing the ceiling sheetrock which takes careful measurments and a lot of patience!
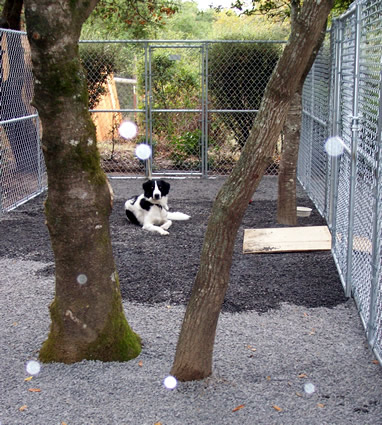
L to R: A new visitor, Lucy, relaxes in the new run as she ponders the strange white floaters hovering around her;
The finished (whew!) ceiling sheetrock. Next up, joint compound and paint!
The finished (whew!) ceiling sheetrock. Next up, joint compound and paint!
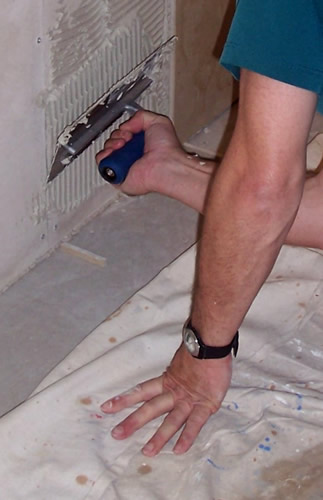
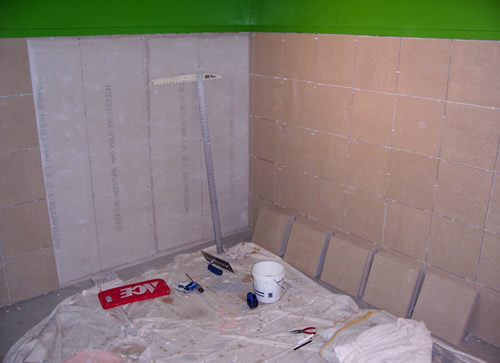
L to R: Olga patiently applies fiberglass mesh tape to ceiling joints in prep for the joint compound application; below her on the walls is the Hardy Backer Board for the ceramic tile application.

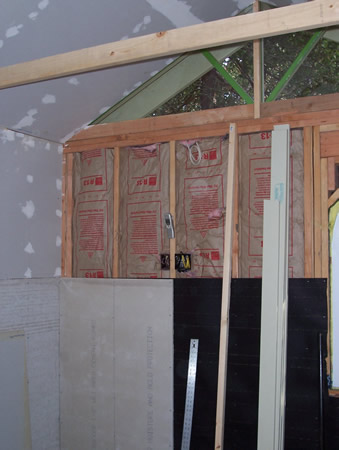
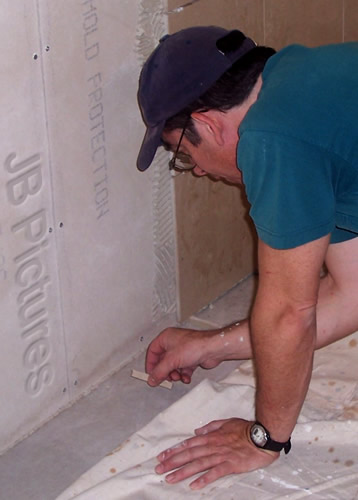
L to R: Before the Hardy Backer Board goes up on the walls, 30# tar paper is applied to guarantee that all the moisture stays away from the frame of the building.
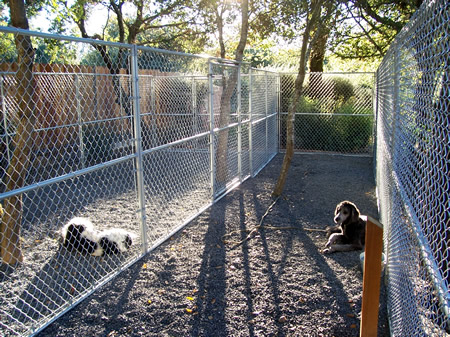
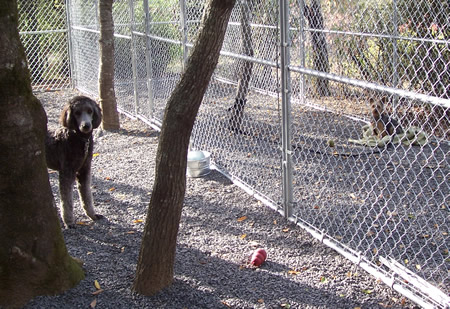
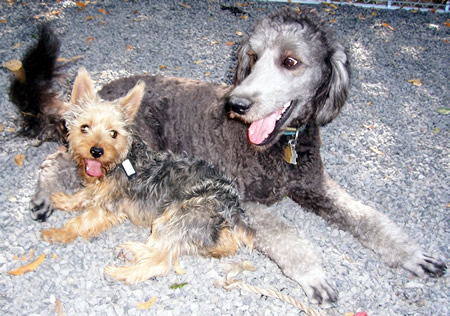
L to R: Lucy and Remy enjoy some sweet winter sun as you enjoy views of the outside runs from the front and rear.
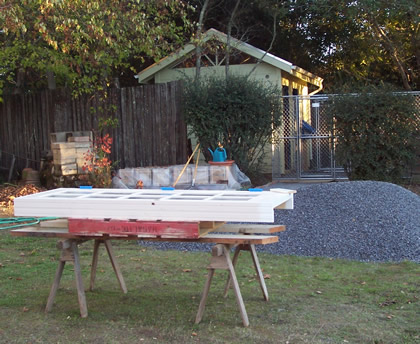
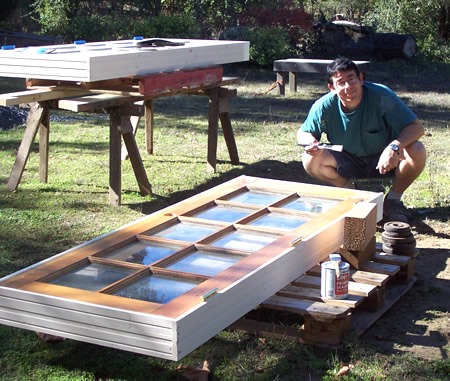
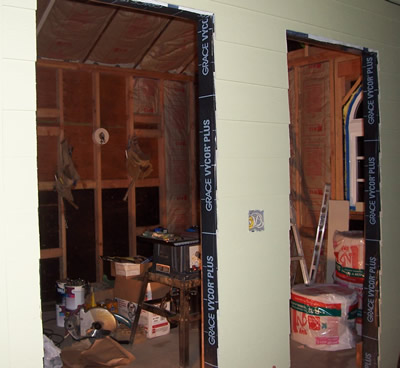
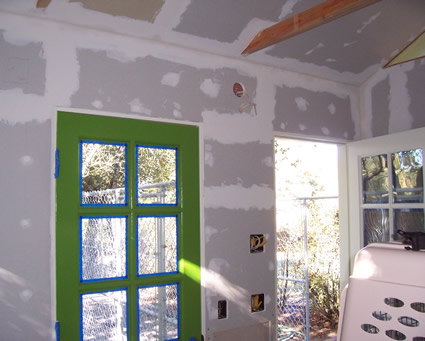
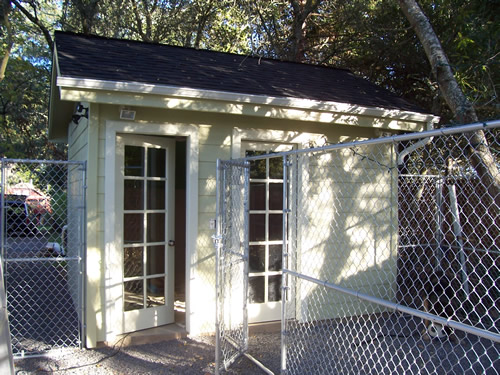
L to R: View from the yard of the Grotto with Bungalow and one of the two recycled French doors we found at two different locations, just back from Mead Clark's door shop with new jambs installed; JB with paintbrush sealing the bottoms of each door and beginning the paint prep before installation.
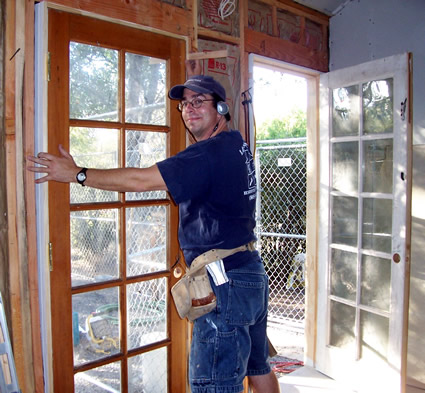
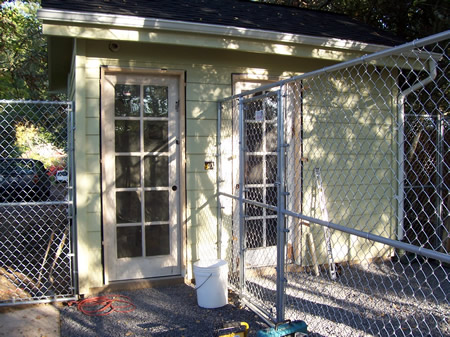
L to R: And to think that JB was considering building his own door jambs before going to Mead Clark! Thankfully he chose to let the big boys do the job. Hanging the doors was fun and, again, with patience, worked out pretty damn well. The view from the outside before the foam insulation and trim is installed. (Much to Olga's chagrin, her rock-pop-hiphop husband has, at least for now, gone country! Note headphones in left hand pic; Froggy FM anyone?)
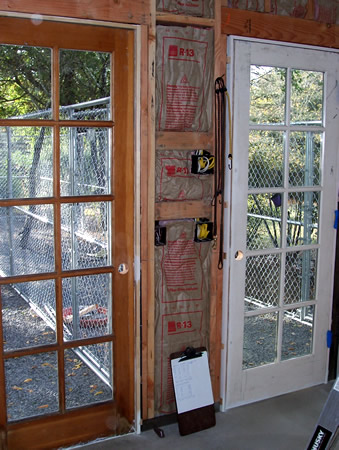
L to R: The French doors hung; Remy and a new trainee Emerson (see him on the right?) enjoy the phenomenal atmosphere of the outside runs.
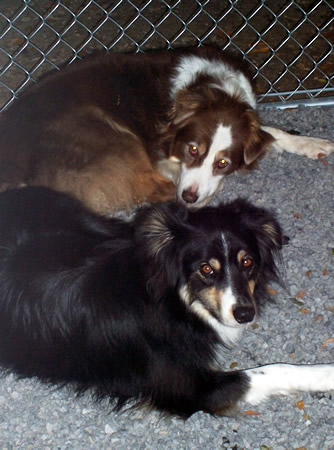

L to R: New visitors Redda (above) and Reno enjoy each other's company; Redda giving me "the look."
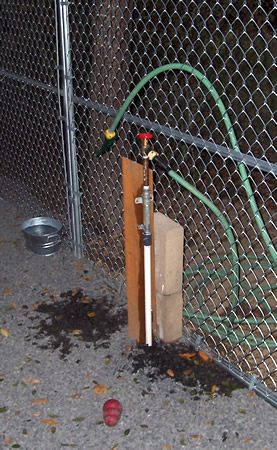
L to R: Jan's Plumbing service completes the faucet installation in the first run; The walls with the first coat of joint compound complete and the doors getting their finished paint.
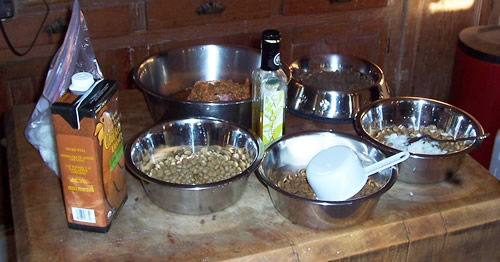
L to R: No one goes hungry at Go Dog Go! Meal prep for the 5 visiting pooches including little Emerson whose in for training.
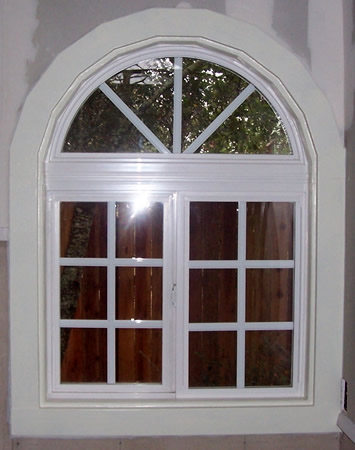
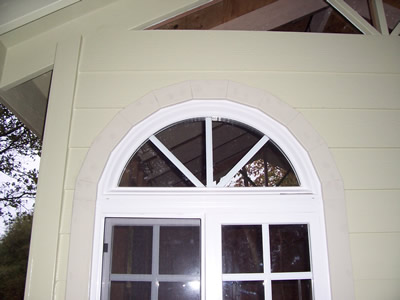
L to R: Ah... the inside window sill and trim challenge: using my brother Daniel's mathematical straight cut angle solution again, I made my own mathematical adjustments to get the inner sill measurments accurate and then duplicated the outer window trim to overlap the inner sill nicely. In the trades we refer to this kind of application as "funky fresh."
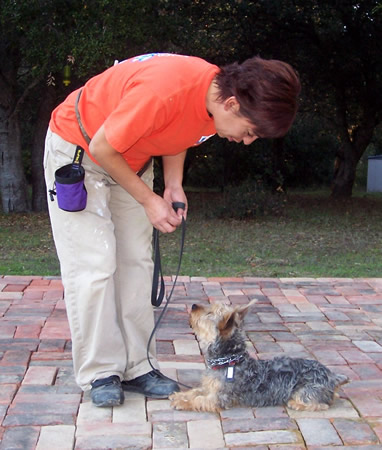
L to R: The two faces of the mighty Olga: 1. A careful applicator of caulk on the outside door trim, and 2. A patient knowledgeable trainer of little wonder doggies like the lovable Emerson.

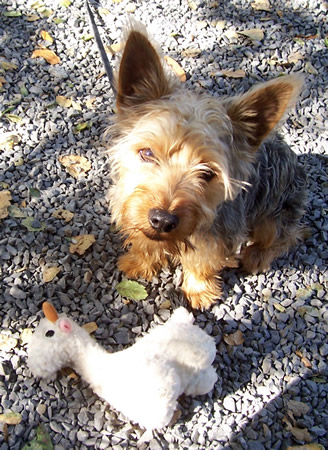
L to R: Emerson and Remy enjoy a tug-of-rope game and then in the spirit of true friendship, relax while sharing stories of tug wars in the old neighborhood from back in the day...
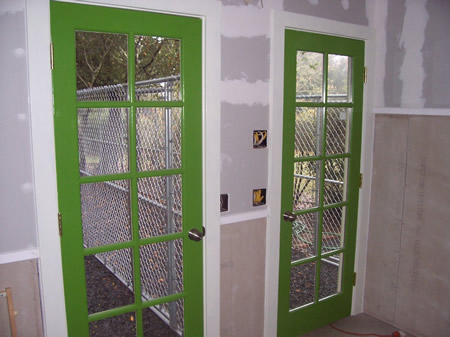
L to R: Wait a minute, haven't we seen these doors already?! The inside and outside, almost finished caulked and painted plus the inside border trim that will separate the upper painted walls from the lower tiled walls.
L to R: Olga looking proud of her paint work; Redda and Reno relaxing outside in run #2.
L to R: LIttle Emerson is always watching so be careful what you do... Olga in run #2 holding Emerson and joined by Redda and Reno.
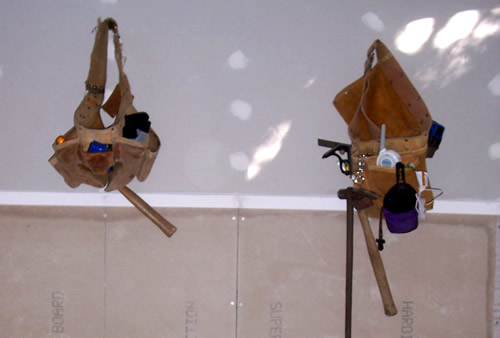
L to R: A dog trainer who loves her work; The tale of the tool belts: left side is Joseph's and the one on the right is Olga's, complete with baby monitor, treat bag and leash.
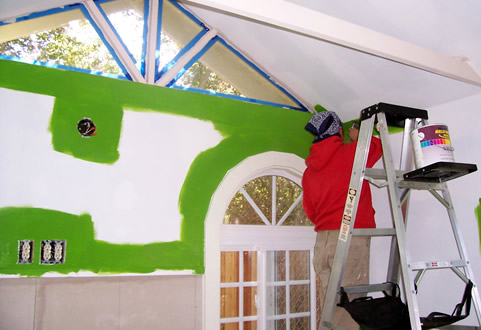
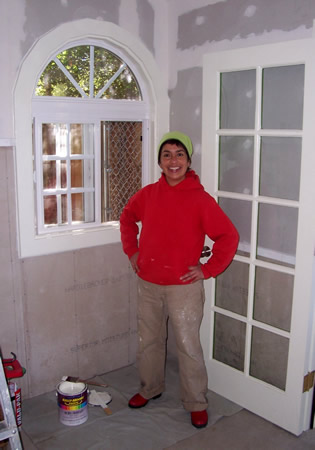
L to R: After washing all the joint compound and priming the sheetrock, we find Olga here cutting the crazy green color she chose for the inside walls.
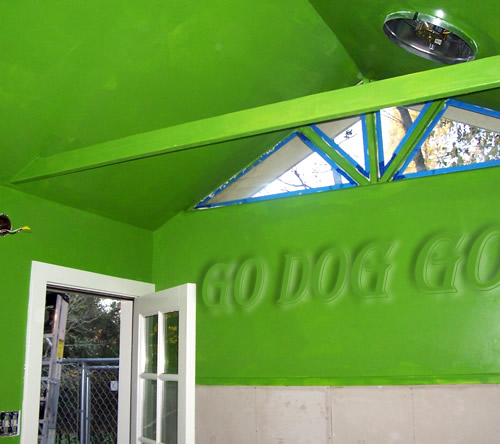
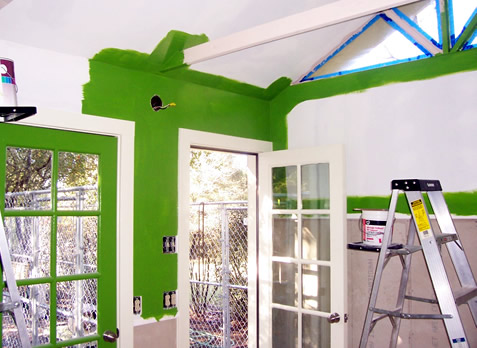
L to R: Olga patiently painting the outside trim and the first coat of the inside green paint finished when out of nowhere a strange message appears on the wall... and now we KNOW the great spirits are aligned with our work.
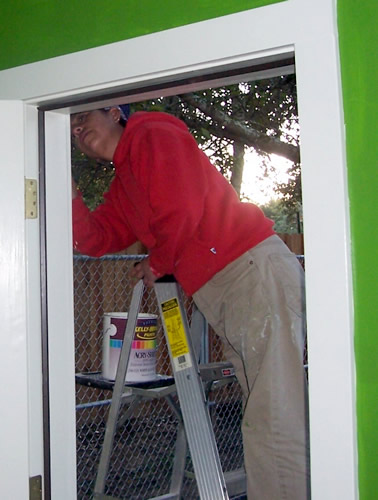
L to R: Olga outside the two front doors happy to be painting; Joseph begins the FUN task of installing the porcelain tile on the inside lower walls.
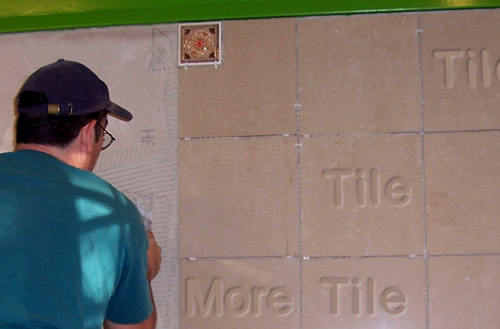
L to R: Little by little, tile by tile.
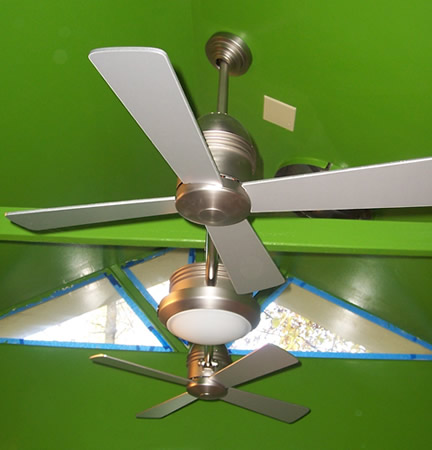
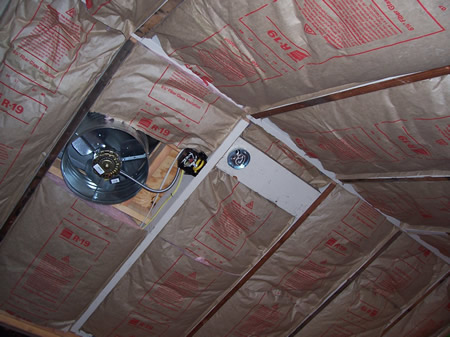
L to R: The central dual-headed 1940's aircraft-inspired ceiling fan gets installed to rave reviews; decorative accent tiles are placed carefully to accent the inner chain-link fence enclosures yet to be installed.
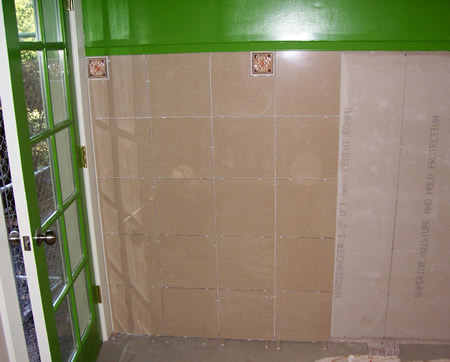
L to R: Ok, really, this is the last pre-grout photo of the tile job; Olga, now a confirmed tile cutting expert, cuts tile for not only the Bungalow, but also for the front porch of the main house. What a gal!
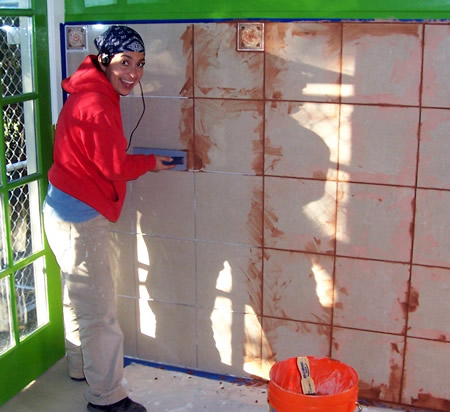
L to R: Gideon keeps us company during the tile phase of the build; Olga listening to her favorite music as she grouts, grouts, grouts her way to satisfaction.
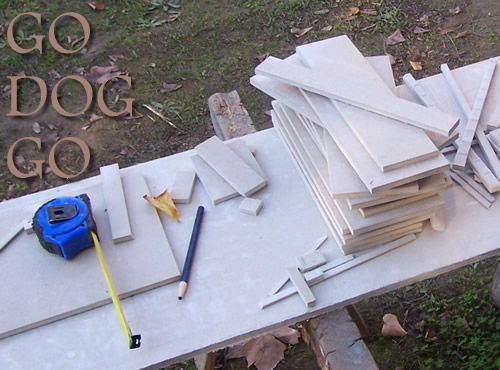
L to R: The tale of the make-shift tile remnants table; a final shot of a freshly washed inside window with final paint.
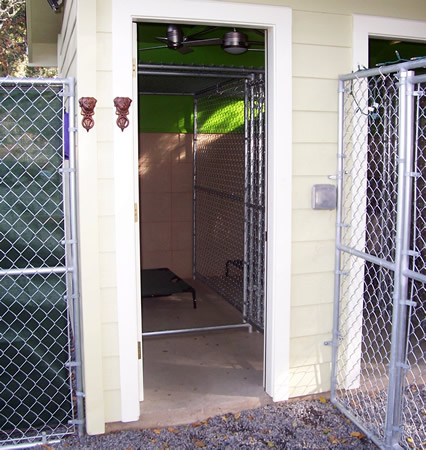
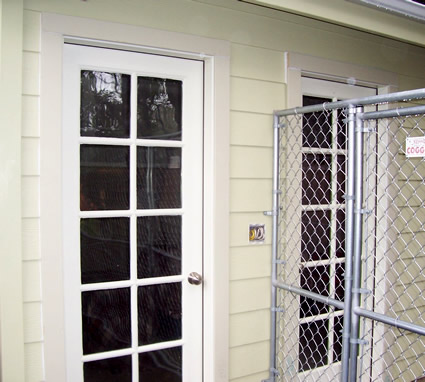
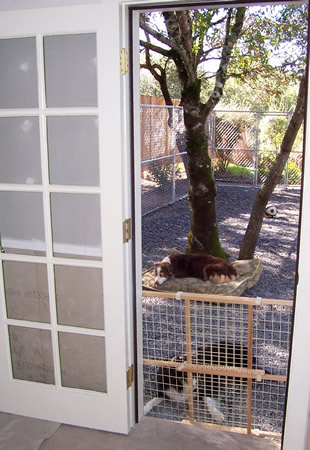
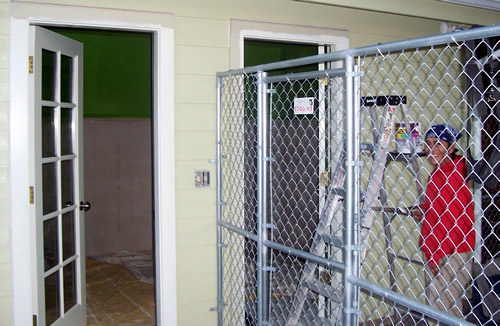
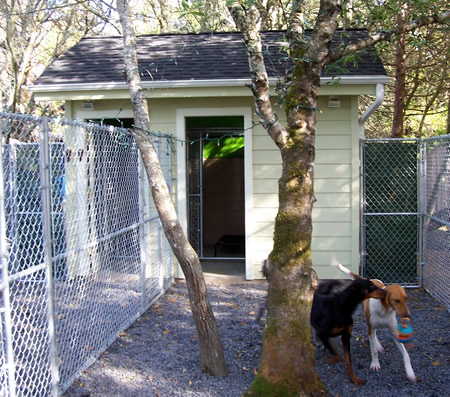
L to R: The outside of the Bungalow before installation of the inside chain-link enclosures; View of the outside-inside with enclosures and bed.
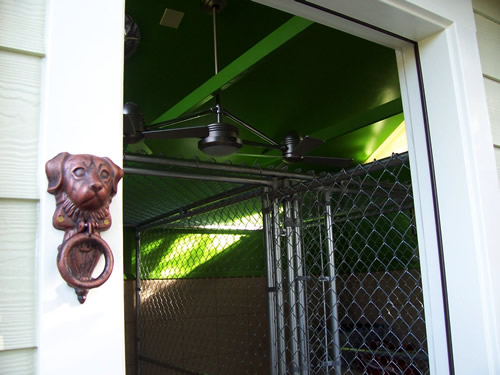
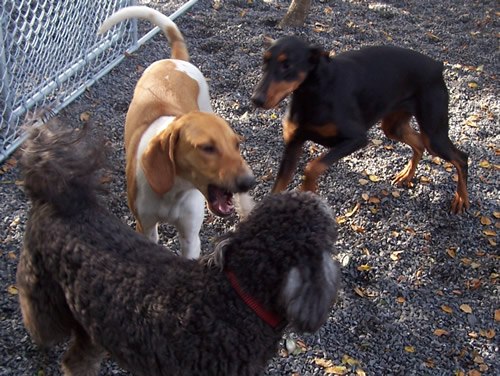
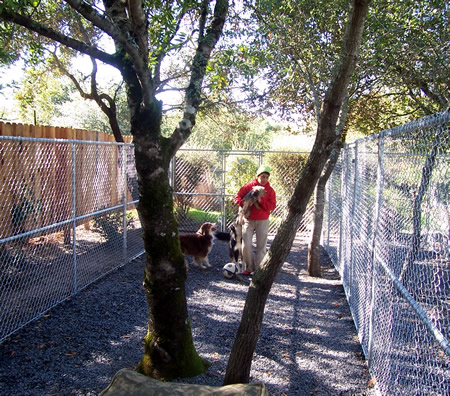
L to R: When all is said and done, the inside's "crazy" green paint is not so crazy afterall; Remy (gray Labradoodle), Tucker (white-tan hound dog) and Harley (Doberman) enjoy the new outside runs and one another's company.
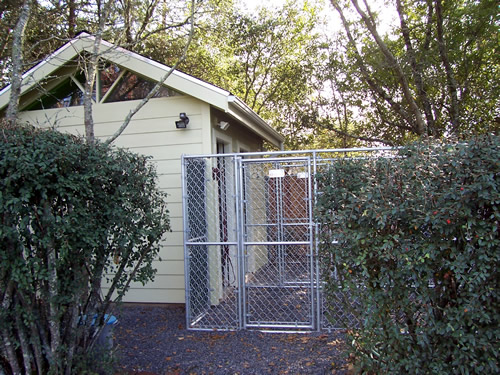
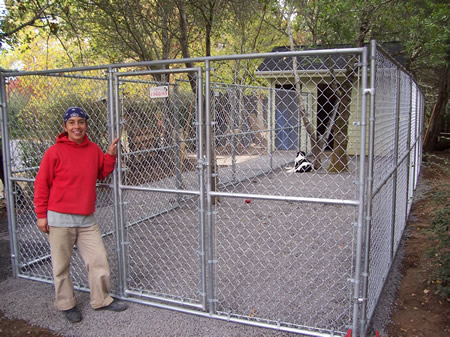
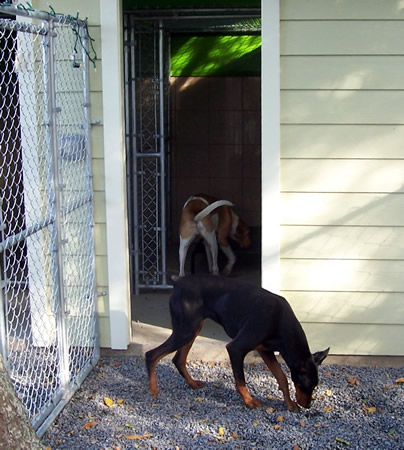
L to R: Visitor's entrance view of the Bungalow and Play-yard; Tucker and Remy get acquainted with the Bungalow.
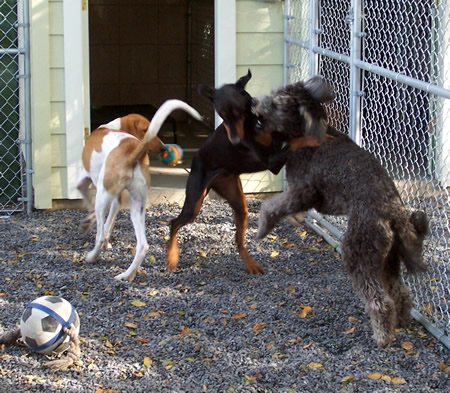
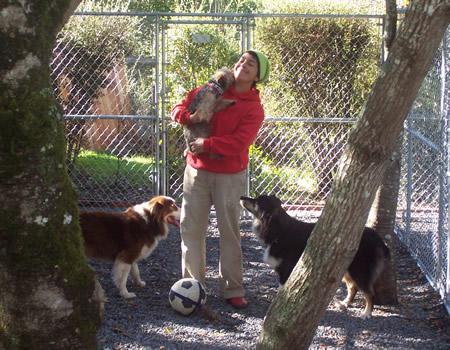
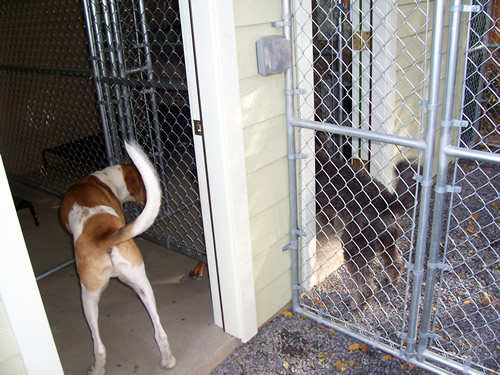
L to R: FUN FUN FUN! It's all in a day's play for these 3 new friends in and out of the new Bungalow.
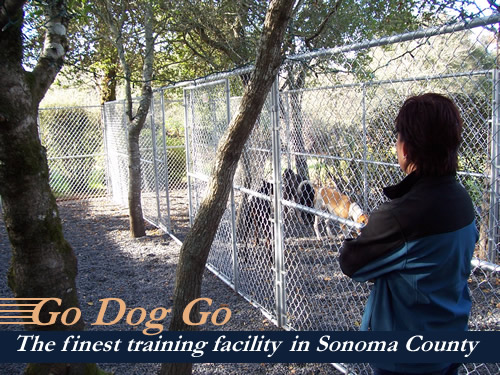
L to R: Some final sniffing before Tucker has to go home; Olga overseeing her new and most perfect doggie domain.
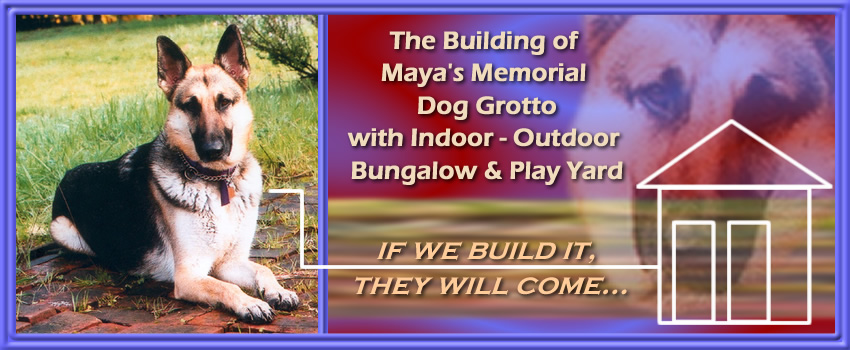
Thanks for visiting the Bungalow Build Site!!